

Alright, so finally I found the time to recreate my 10/10 dessert from the Celebrity Master Chef Series.
The main reason I wanted to put this recipe up was because I heard a lot of people tried the recipe off the Master Chef website, and that it didn't work.
After checking the website it turns out they had missed a few key methods and mixed up some ingredients! So lets get the record straight! This is what you will need to do.... Don't be afraid by the amount of things you need to do, you do it all one at a time and bring it all together at the end. Just time consuming! On Master Chef I got it done in 2 & 1/2 hours, but I was using a blast chiller (very quick at cooling down). When I made this recipe it took roughly 6 hours on and off, there is a bit of down time while you wait for things to freeze and set. You could always do a few things the day before too, which I will let you know in the steps! Also make sure you read the full recipe first and understand how it goes together to get best results. Happy Cooking!!!
Ingredients:
Creme Brulee:
375g Thickened Cream
135g Milk
1 Vanilla Pod
7 Egg Yolks
1 Whole egg
60g CSR caster sugar
Biscuit Base
250g Plain Flour
150g Unsalted butter
100g CSR caster sugar
1g Salt (big pinch)
1 Egg
Choco Cream
190g Thickened cream
190g water
150g CSR caster sugar
60g Dark cocoa powder
125g Dark Chocolate (64% - 70%)
15f Leaf Gelatine (I used standard leaf from a gourmet super market, could use gold or titanium strength)
Base Delice
400g Choco Cream (Made as above)
350g Whipped thickened cream
Chocolate Glaze
340g Dark Chocolate (64% - 70%) chopped
230g Thickened cream
165g Light corn syrup (can substitute glucose syrup if you cant find corn syrup)
Toasted Almond Flakes
75g Almond flakes
White chocolate stripes
150g White chocolate buttons
Salted Caramel Sauce
250g CSR caster sugar
25g water
150ml Thickened cream
150g Unsalted butter
Maldon salt to taste
Special items needed:
Cookie cutters and cake rings of the same size (mine were about 12cm in width, but it is still the same process regardless of size - you will just have more to eat!!)
Blow torch - will make things easier but you can get away without it.
Bain Maire - A smaller pan that fits inside larger pan and acts as a water bath. see pics below
 |
| Example of Bain-Marie |
Step 1 - Prepare the Creme Brulee:
Preheat the oven to 140c
Bring the cream, milk and vanilla pod (cut in half and seeds scraped out) to the boil.
Whisk eggs and sugar together.
Remove the vanilla pods from the cream mixture and slowly whisk in to the egg and sugar mixture. Make sure it is just a little cream at a time
 |
| Fill creme brulee pan and pour in boiling water to 3/4 up the side |
otherwise the eggs will scramble.
Strain the creme brulee into a shallow pan (the mix should be no deeper then 1cm - you can trim off excess if need be).
Bake in Bain-marie (water bath - smaller pan inside a larger one with boiling water surrounding small pan) for about 30-40 minutes or until firm and cooked in the centre.
Once cooked, chill immediately and freeze.
Once frozen, cut out 4 discs with cookie cutters that match the size of the cake rings and put back in the freezer until ready to use.
 |
| circles cut which stay in freezer until ready to put together |
 *Note - You want the layers of biscuit, creme brulee and chocolate cream to be even. So make sure that the creme brulee circles are thin enough that once you have it sitting on the biscuit layer, there is still room for chocolate cream on top whilst it still staying flat. You will see what I mean when you get the the assembly part. So make sure you read the whole process so you understand how thick things should be!
Step 2 - Choco Cream Part 1
In a heavy based saucepan, bring the cream, water, sugar and cocoa to the simmer stirring regularly.
Soak the gelatine in cold water until it has softened (Make sure it is cold otherwise it will melt and you will not be able to use it! I put a few ice blocks in the water just to make sure)
Add the dark chocolate and bring back to the simmer and all the chocolate is melted.

Take the simmering chocolate cream mixture off the heat and whisk in the softened gelatine.
Now it is all combined, pass it through a sieve into a bowl and place in a bigger bowl full of ice in the fridge to let the gelatine set. I put glad wrap over the top of the mix to stop a skin forming over the top. This stops bits of hard skin mixing in with the soft, velvety cream.

Step 3 - Biscuit Base
Process the flour, sugar, butter and salt in a food processor until the mixture resembles dry bread crumbs. Add the egg and process further until the mixture starts to come together.
Transfer to a clean work bench and knead for a few minutes until it forms a nice ball.
 Wrap with plastic and rest in the fridge for about 10 minutes.
Rollout pastry with rolling pin until about 2-3mm thickness.
Cut out 4 circles of pastry with the same cookie cutter you used for the creme brulee.
Place on a baking tray lined with baking paper, bake for 5 minutes until golden and set aside until needed.
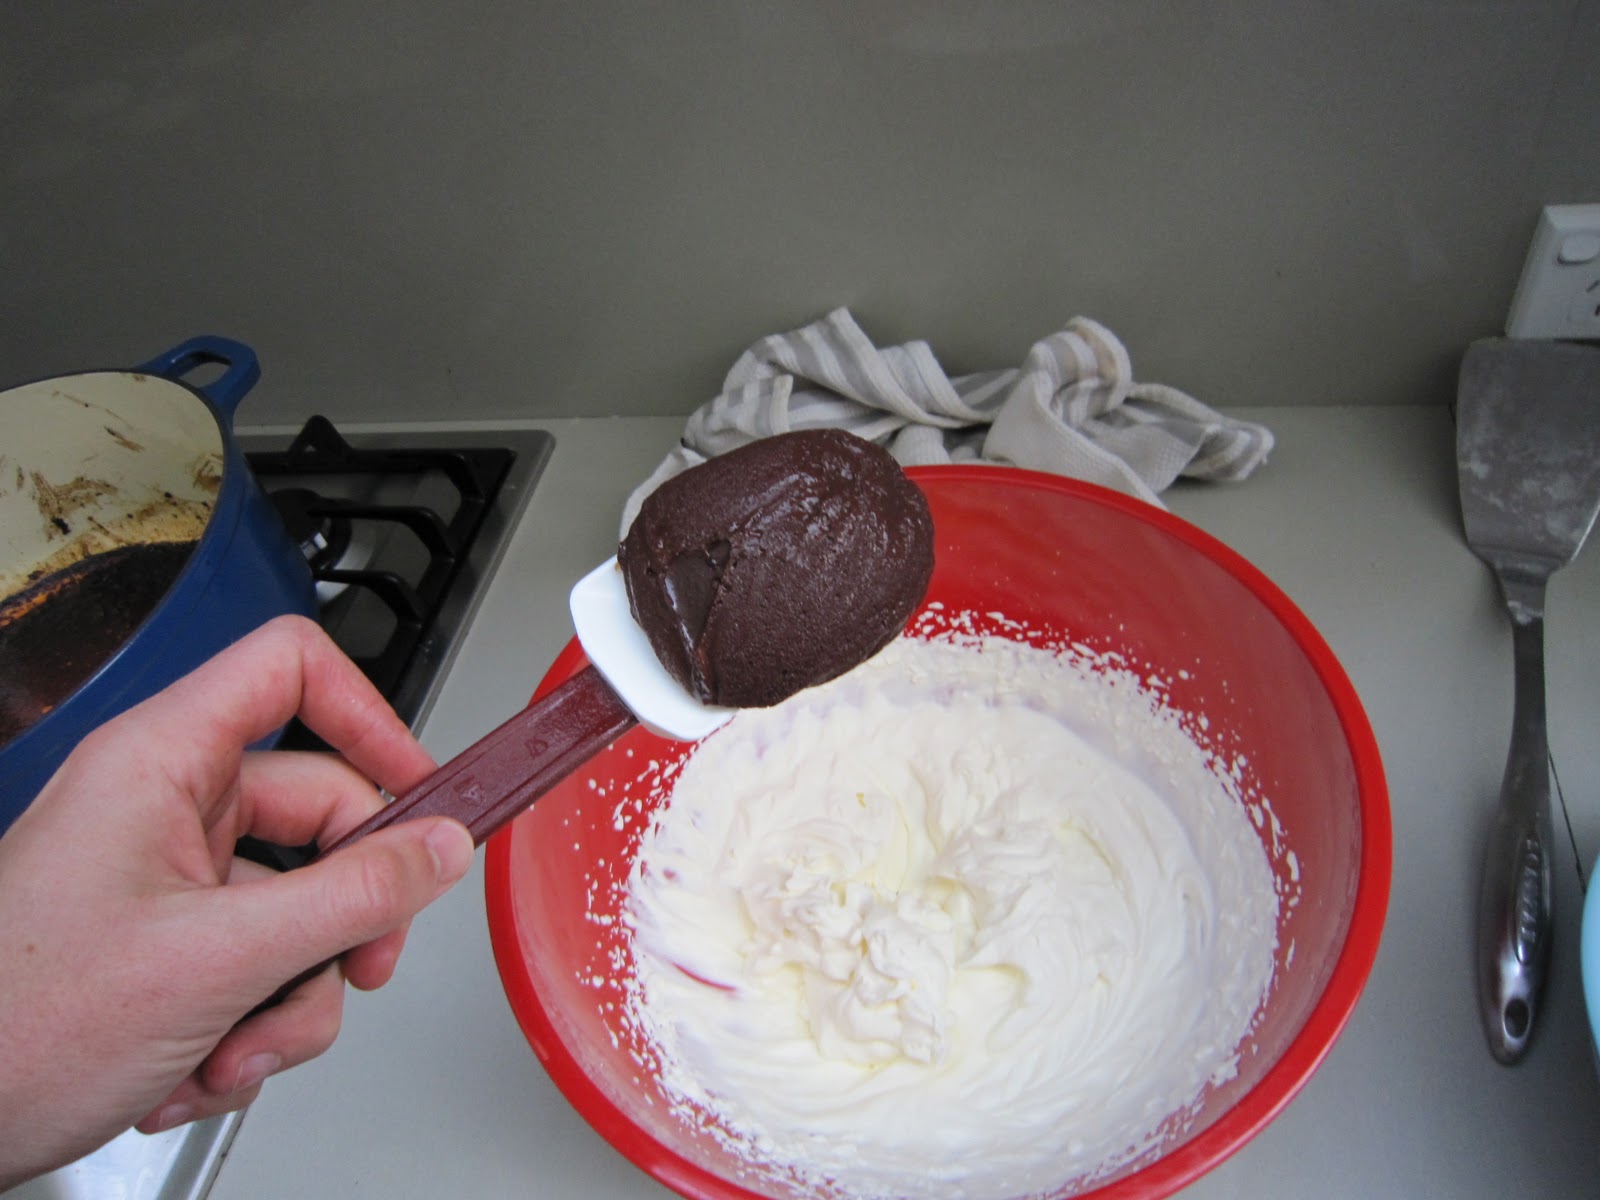
Step 4 - Choco Cream Part 2 (Base Delice)
Before you start this process make sure that the Choco Cream Park 1 has set in the fridge. It should be thick enough that you can turn the bowl upside down. You can see in the first picture just how thick it is.
 All you have to do is whip the cream until soft peaks form and it stiffens up.
Then gently fold in the Choco Cream part 1 until it is all combined.
Dont mix it too hard as you will knock out all of the air.
Once it is mixed in get ready to start some assembling!
Step 5 - Assembling Part 1
To start assembling the chocolate delice place 4 cake rings on some baking paper. Place the cooked biscuit bases in the centre of the rings, then place the frozen creme brulee on top of the biscuit.
Note - I like to use a bigger ring than the size of the biscuit and the brulee so that the chocolate cream surrounds the biscuit and brulee.

When you have covered all 4 rings, put back in the freezer until they are frozen.
Step 6 - Salted Caramel Sauce
While the first part of the Delice is setting in the freezer, get started on the caramel sauce.
For this put the sugar and water in a heavy based saucepan and heat gently, stirring until the sugar has dissolved.
Raise the heat and cook without stirring until the sugar mix becomes a rich, deep golden brown. As seen below, you can see how much the colour changes. Because of the heat generated the sugar will continue to cook even after you take it off the heat, so I took it off at the stage below on the right and it continued to get a bit darker. You don't want it to be too dark otherwise it will be bitter.


Once the sugar has become a deep rich brown, take it off the heat, pour in the thickened cream and whisk very well until the mixture has combined completely. Make sure you whisk well, as if not it might split. Be careful when adding the cream, as it will spit - wear a shirt.


After the cream is incorporated into the sugar (photo on the left), slowly whisk in the butter a few pieces at a time. Then start mixing in a pinch of Maldon salt at a time and tasting until it is to your taste. I think I ended up putting in around 5 decent pinches of salt. Don't be afraid of salt, there is that much sweetness in this dish that it works perfectly with it.
Step 7 - Making the Chocolate Glaze
The glaze is simple, bring the cream and corn syrup to the boil and pour over the chocolate. Stirring until a thick consistency is reached. I actually add about a 1/3 of a cup of water to thin the mixture out, so that when I spread it over the prepared delice it will drip and cover all parts. A good way to do this is just add a bit of water at a time and test on the back of a spoon. It should run off the back of the spoon but leave a thin coating.
Step 8 - Toast the Almonds
Preheat the oven to 180c and toast the almonds on some baking paper until they are lightly golden. It should only take a few minutes so keep an eye on them!
Step 9 - White Chocolate


Gently melt the white chocolate in a metal bowl over a saucepan with boiling water in the bottom (another way to do a bain-marie) and transfer to a piping bag.
*Piping bags can be bought in the baking isle in supermarkets usually
Step 10 - Final Assembly
By now the delice should hopefully be frozen. If not make sure that it is otherwise it will be very hard to keep the shape of it when decorating it. The salted caramel will be able to sit around for a while, and if the white chocolate starts to set, simply keep the piping bag in hot water... Not boiling otherwise it will melt the plastic!
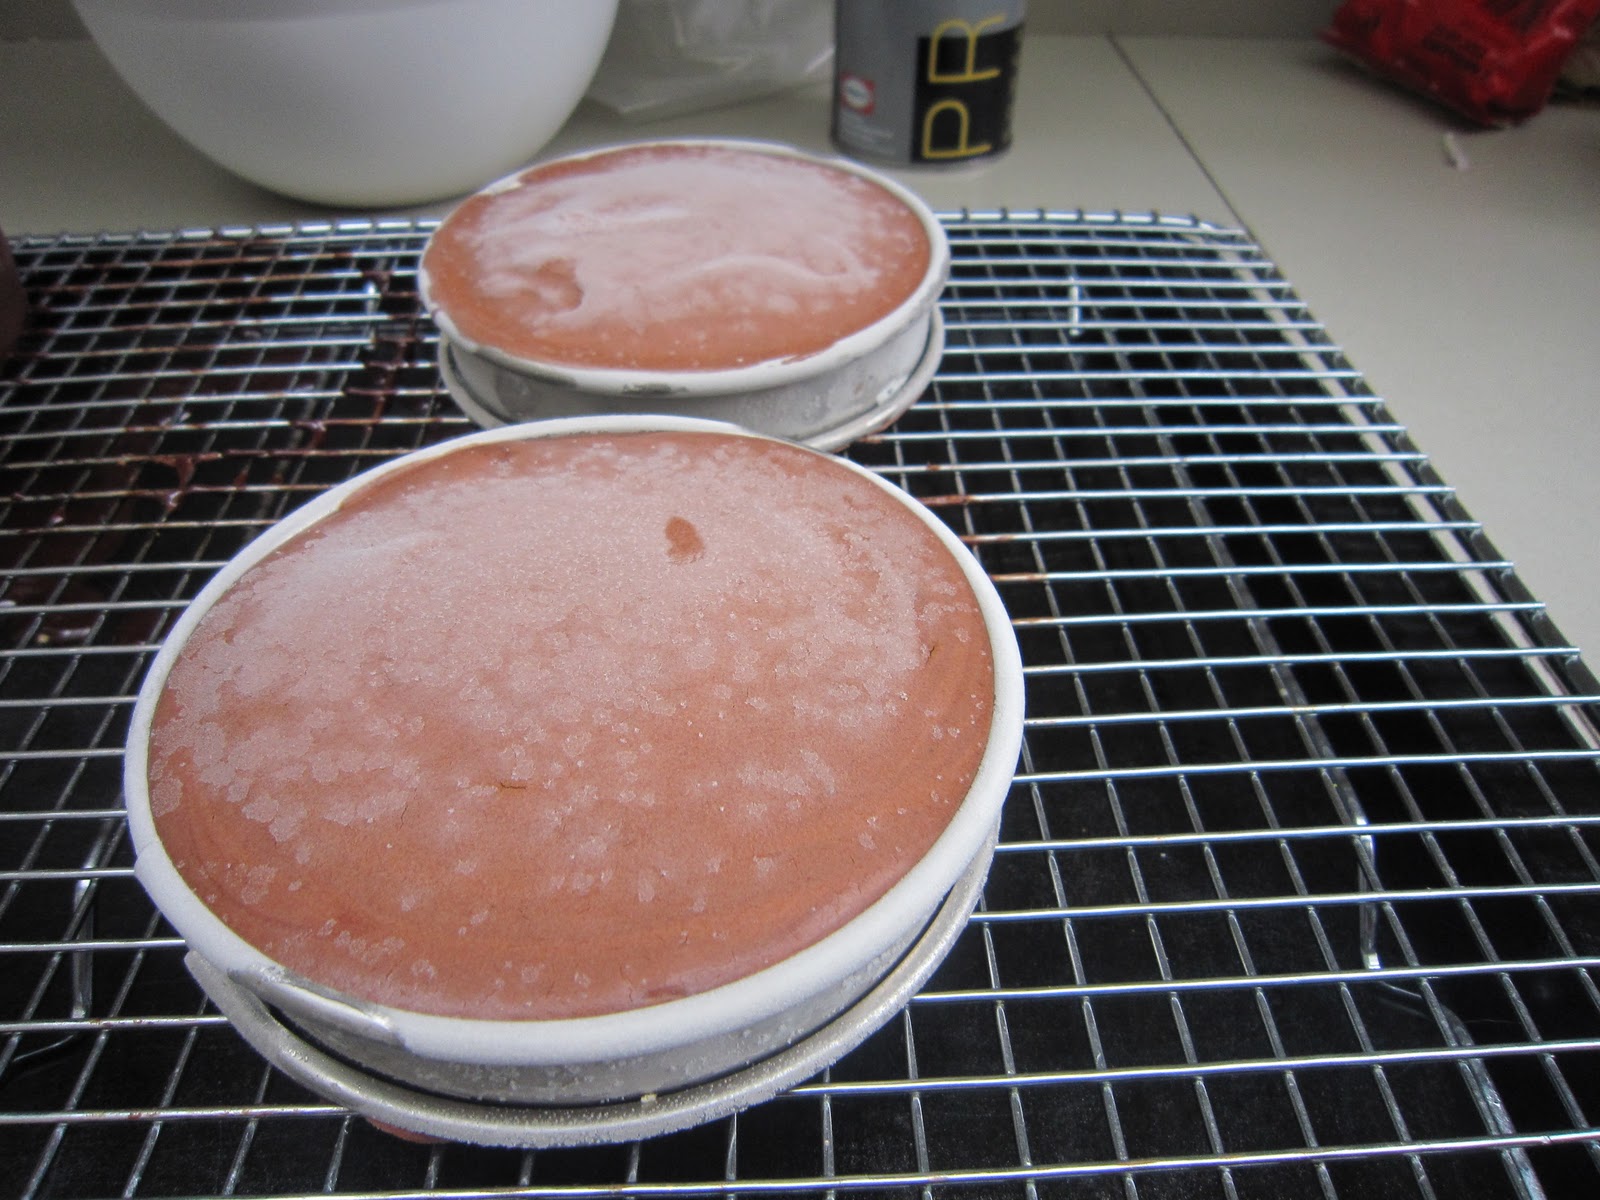

For this part you can use a blow torch as pictured below, but it is not necessary. All you need it for is to warm up the cake ring on the sides so you can slide it off without damaging the delice. If you don't have one just use your fingers and trying to rub away the cold and generate some heat.
Demo on how to blowtorch the sides. Please be careful if you do have one! And see if you can spot my dog!
 |
| Delice with the cake ring removed. Perfect shape. |
The next step is to glaze the delice with the chocolate glaze prepared earlier. To do this put them on a wire rack and spoon a generous amount of the glaze on top of the delice and if it is the right consistency it should cover the whole delice without much help. If it is close just use a knife to spread it around the edges. (the almonds will cover the side so it will cover up any blemishes)
 |
| Glazed Delice's |
Next step is to drizzle the delice with the white chocolate. Carefully cut of the tip of the piping bag so that it is a small hole and not big enough for the white chocolate to just fall out. Do a practice run on something or even just in the sink so you get the idea. The carefully pipe the white chocolate on the the 4 chocolate delice's.
 |
| taking shape - white chocolate on |
TO SERVE:
Place a pool of salted caramel on a serving plate and carefully use a thin spatula to transfer the delice to the middle of the caramel!
All the is left to do is ENJOY! |
| Finally! |
 |
| The centre |
Hopefully that sets the record straight and breaks it down enough for people to attempt! It really isn't that hard, it just takes planning and a lot of time and patience!
I am trying to think about what I should do next.... I recently went up to the Macadamia farms in Byron Bay and brought back some Macadamia Oil, some Macadamia nuts and also some macadamia paste. So thinking something along those lines?!
But happy to hear suggestions on something you might like to see?
Until next time!


